
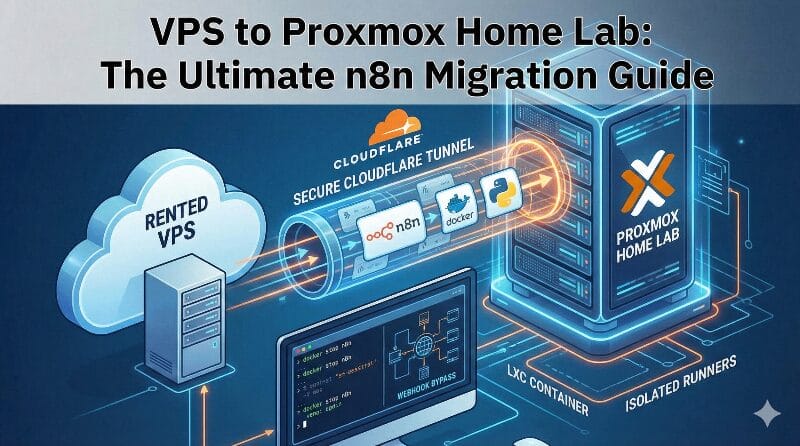
Moving from a rented VPS to a dedicated home lab on Proxmox is like moving from a cramped apartment to a house with a workshop. You finally have the room to build things the “Pro” way. These are the steps I used that cover the exact path for migrating your n8n instance to a local Proxmox LXC container, securing it with Cloudflare Tunnels, and future-proofing it with isolated Python runners.
If you are unsure on how to find certain paths or Docker names, ask Gemini for a little help.
Phase 1: The Migration (Moving the “Brain”)
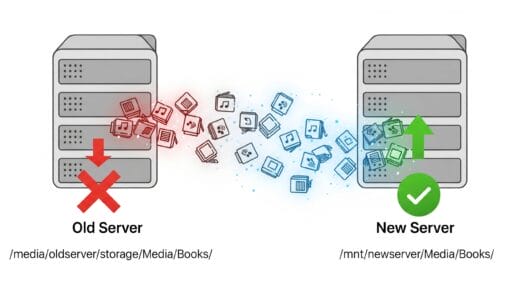
The heart of your n8n instance is its data volume. To move your workflows and credentials from a VPS to your home server, you need to “package” the data correctly.
1. Export the Data
On your old VPS, stop the n8n container cleanly to ensure no data is being written to the database during the backup. Then, create an archive of your data folder:
docker stop n8n
tar -cvzf n8n_backup.tar.gz /path/to/your/n8n_data
Important: You must also grab your N8N_ENCRYPTION_KEY from your .env file. If you lose this key, your credentials will be unrecoverable on the new machine.
2. Prepare the Proxmox LXC
Create a new LXC container (Ubuntu or Debian) on Proxmox and install Docker. Before moving any files, create a named volume on the new machine. Using the exact same volume name as your VPS configuration will save you from editing your Docker Compose file later.
docker volume create n8n_data_storage
3. Inject the Backup
Transfer your n8n_backup.tar.gz to the new LXC. You will extract it directly into the Docker volume’s mount point on your host.
# Locate the mount point
docker volume inspect n8n_data_storage
# Extract the backup into that path (usually /var/lib/docker/volumes/...)
tar -xzvf n8n_backup.tar.gz -C /var/lib/docker/volumes/n8n_data_storage/_data
Phase 2: The Modern Architecture (Task Runners)
In n8n v2, running heavy code like Python inside the main container can lead to crashes. The “Pro” setup uses a Sidecar Runner to isolate execution.
Updated docker-compose.yml
This configuration links your restored data to a stable, multi-container environment. Notice that external: true is used for the volume so Docker doesn’t try to create a fresh, empty one.
Services:
  n8n:
    image: n8nio/n8n:latest
    restart: always
    environment:
      - N8N_ENCRYPTION_KEY=your_vps_encryption_key
      - N8N_SECURE_COOKIE=true
      - WEBHOOK_URL=https://n8n.your-domain.com/
      - N8N_TRUST_PROXY=true
      - N8N_PROXY_HOPS=1
      - N8N_RUNNERS_MODE=external
      - N8N_RUNNERS_AUTH_TOKEN=your_secure_token
    volumes:
      - n8n_data_storage:/home/node/.n8n

  n8n-runner:
    image: n8nio/runners:latest
    container_name: n8n-runner
    environment:
      - N8N_RUNNERS_AUTH_TOKEN=your_secure_token
      - N8N_RUNNERS_TASK_BROKER_URI=http://n8n:5679
    depends_on:
      - n8n

volumes:
  n8n_data_storage:
    external: true
Starting the Container
To bring the new system online, run the following command in your project directory:
docker compose up -d
Check the logs immediately to ensure the migration was successful and that n8n can read your old database. You are looking for the message: “Editor is now accessible via…”.
Phase 3: The Security (Cloudflare Zero Trust)
Instead of opening ports on your router, a Cloudflare Tunnel creates a secure bridge to your local server.
1. The Tunnel
-
Install the Connector: In the Cloudflare Zero Trust dashboard, go to Networks > Tunnels and create a new tunnel. Select your OS and run the provided command in your LXC terminal to install the
cloudflaredagent. -
Public Hostname: Map your subdomain (e.g.,
n8n.yourdomain.com) to the internal service. Since n8n is in the same LXC, usehttp://localhost:5678.
2. The “Bouncer” (Access Policy)
To prevent bots from even seeing your login page, add a Cloudflare Access policy.
-
In the dashboard, create a Self-hosted Application for your subdomain.
-
Add an Allow policy that requires a One-Time PIN sent only to your specific email address.
3. The Webhook Bypass
External services cannot check their email for a login code, so you must create a separate bypass for them.
-
Create a second Application specifically for the webhook path:
your-domain.com/webhook/*. -
Set the Action to Bypass and the Selector to Everyone.
-
This ensures your automations stay active while your dashboard remains locked.
Why This Matters
By moving to Proxmox, you have regained control of your hardware resources. By using Tunnels and Access policies, you have implemented enterprise-grade security for free. Your workflows are now faster, your home IP is hidden, and your data stays exactly where it belongs: in your own house.